Zillow Showcase
Getting Started Guide

Creating a Listing
Home page
When the time comes to create a new listing, start on your home page and click “Add listing” on the upper right.

Then, search for the listing address or enter it manually. You can also add the seller(s) name and contact information, but this is optional.
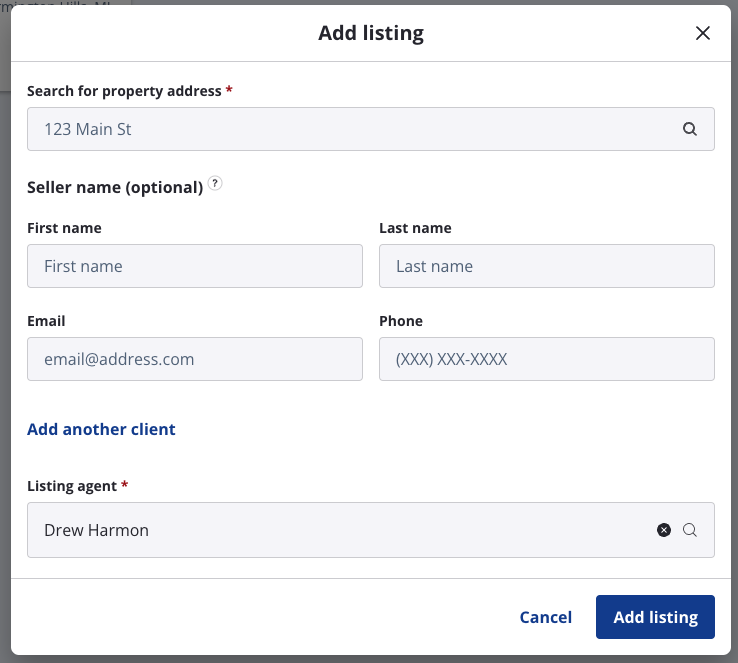
Lastly, add the listing agent whose details will be shown on the Showcase listing when it goes live on Zillow.
Once you’ve added all these details, click “Add listing.” Your listing has now been created.
Make It A Showcase Listing
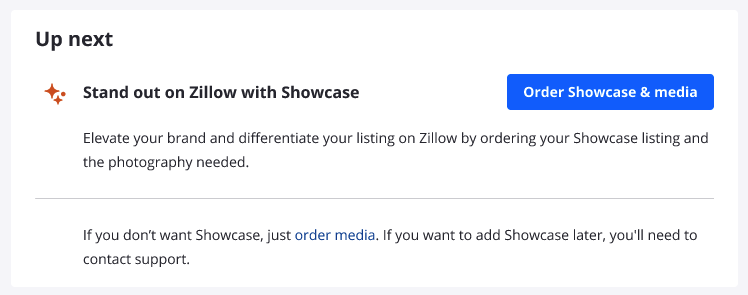
If you want to create a Showcase listing, click “Order Showcase & media” within the “Up next” section of the listing.
Then, enter the listing price and select a payment method for the Showcase listing.
Depending on your account, subscription and access level, the following steps may appear differently at this point in your user experience. In many cases, you are likely to have the following options:
- Use an available Showcase listing
- Use your own payment method
- Use Showcase listing from seller connections
- Note: This option applies only to listings for Zillow seller connections
Once you’ve made your selection, click “Submit Payment.”
You’ll receive confirmation that your listing is ready to use Showcase. Click “Get media” to begin the process of ordering listing content.
Flip an Existing Listing to Showcase
You may decide after a listing goes live on Zillow that you want to switch it to become a Showcase listing.
To begin, log in to your Showcase account. You’ll then opt to create a Showcase listing using the same process as a completely new listing by clicking “Order Showcase & media,” and then enter the address of the property of the listing you want to flip to Showcase.
Please note that you will need to use a Showcase credit, just like any other Showcase listing. You can opt to use an available Showcase credit, or purchase a new one.

You’ll then be asked if you need to order media for your Showcase listing. In order to make any listing a Showcase listing, you will need to have already ordered and potentially received media that qualifies as Showcase media, or order new media that fits the criteria. These requirements include HD photos, a virtual tour and interactive floor plan and requires photographers with specific equipment and training in order to capture it properly. For more details on the media requirements, please review the “Ordering and Receiving Media” section of this guide.
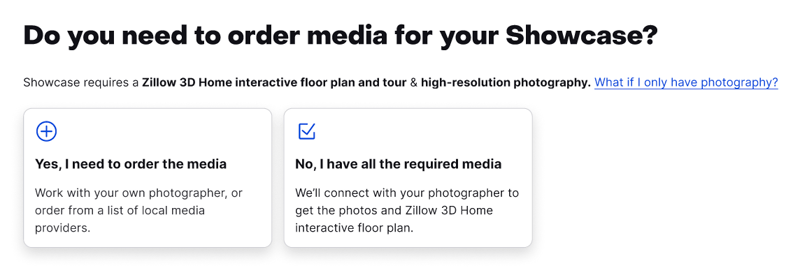
If you select “Yes, I need to order the media,” you’ll enter the standard media ordering process for a Showcase listing. More details are available within the “Ordering and Receiving Media” section to help you navigate through this process.
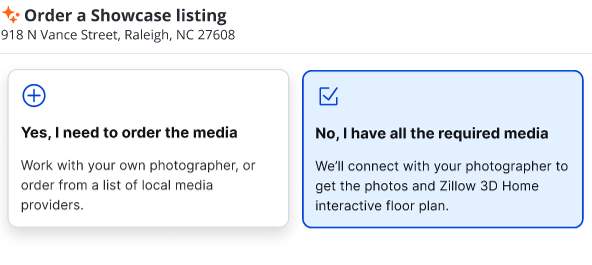
If you select “No, I have all the required media,” your Showcase account will automatically present any media ordered already through ZMX or an Aryeo Pro photographer connected to the address. If this media already exists, you’ll be able to select them and click “Submit” to connect the materials to the property and move forward with creating it as a Showcase listing.
You’ll then see the status bar in the “Up next” section move to the “Creating Showcase” status.
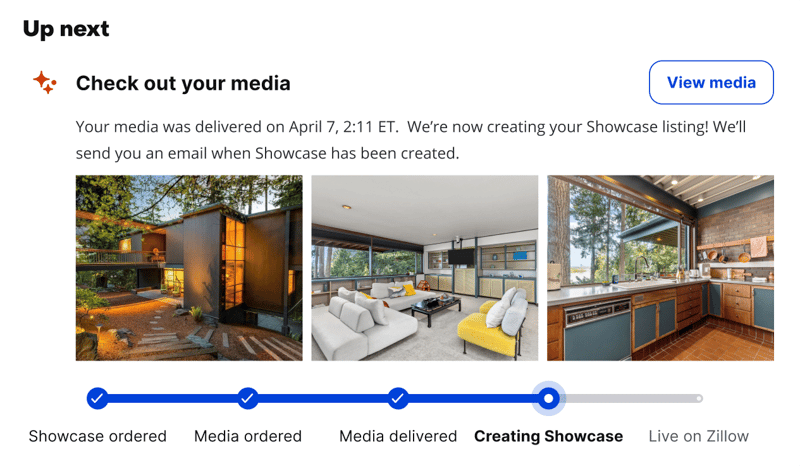
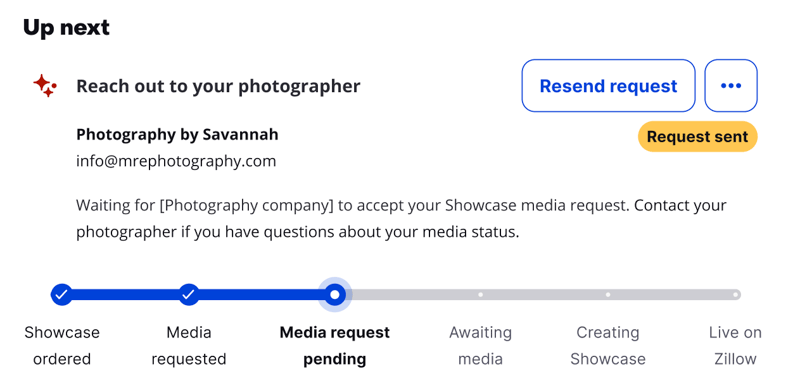
If the media does not appear in the ZMX or Aryeo Pro photographer submission, you’ll be asked to submit the photographer information to confirm the request and identify who has captured the media and should be able to upload.
After submitting that email address, you’ll see the status bar update to “Media request pending.” An email has been generated to the photographer you identified and they’ll be given a link they can use to upload that media to your listing.
Once that media is delivered by the photographer, your listing will move from a standard listing to a Showcase listing.
In some cases, there may be some technical issues when flipping a listing to Showcase. If you’re unable to move forward in updating a listing to Showcase, reach out to support@showingtimeplus.com for assistance.