Zillow Showcase
Getting Started Guide

Getting Started
Login URL
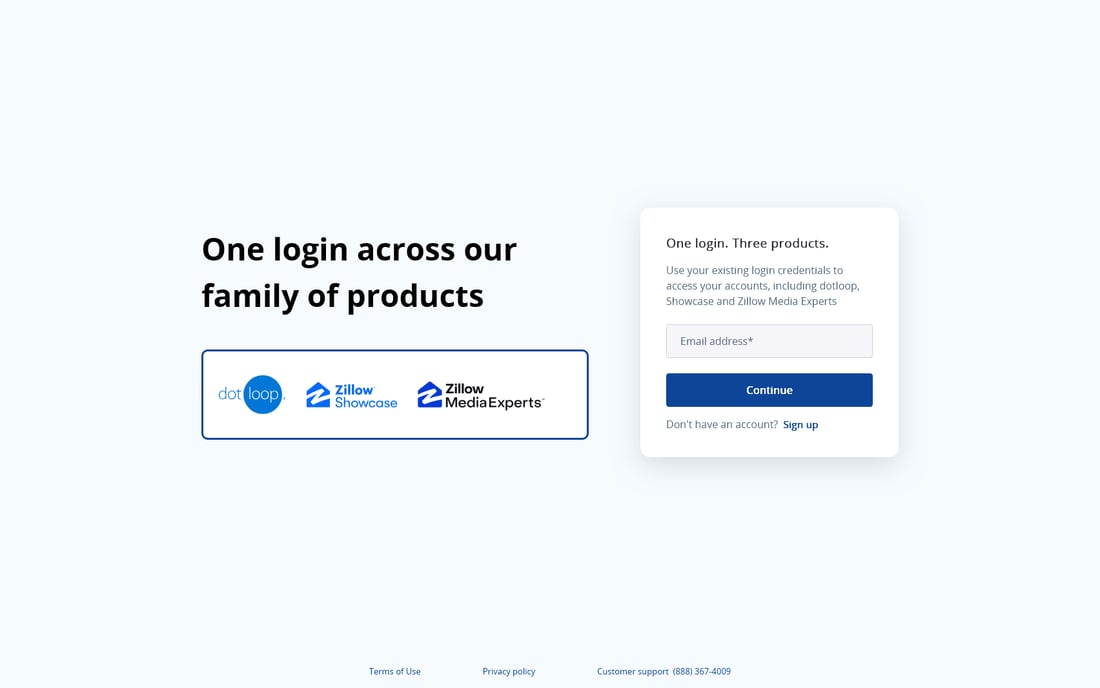
If you've previously logged into Showcase, enter your credentials at ZillowShowcase.com.
You should use your Showcase account password, which is likely the same as your dotloop and Zillow Media Expert password.
If you've never logged into Showcase, navigate to www.ZillowShowcase.com, then click "Login."
Next, click "Sign up," enter your email and click “Continue.” Finally create your password and you're good to go!
You may be asked to add security measures to your account, such as a phone number for two factor authentication or by using an authenticator application. Most people will utilize a phone number, and we recommend taking advantage of one of these additional security features.
Workspace
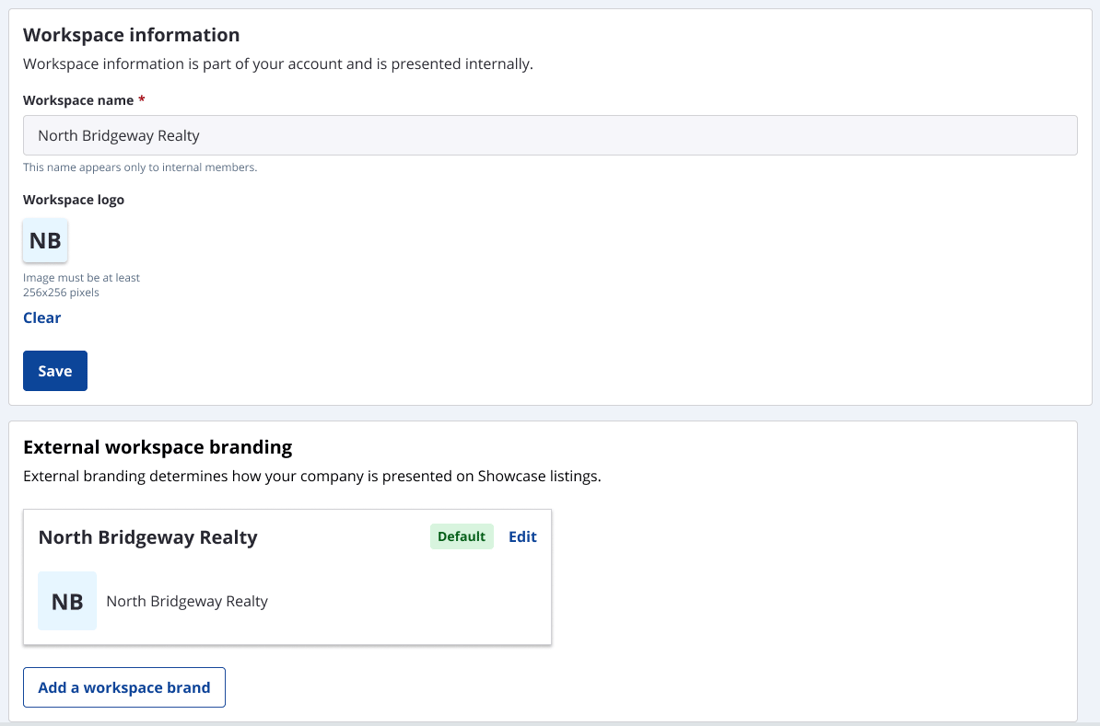
If this is your first time logging into Showcase in a while, you may be asked to add a workspace. We recommend using the name of your company or team to ensure the name is easily recognizable by anybody who may need to be granted access to your workspace.
Enable Showcase
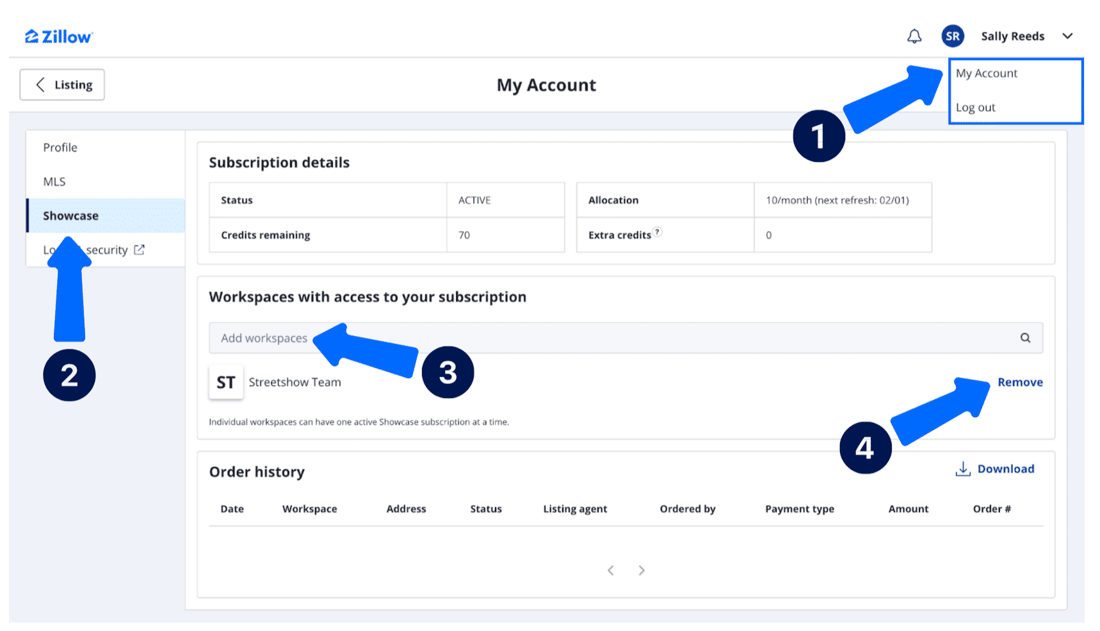
If you are new to Showcase, you will need to first add Showcase to your workspace in your profile before you can begin creating a Showcase listing. To do this, navigate to your profile by clicking the downward-facing arrow on the upper right next to your name.
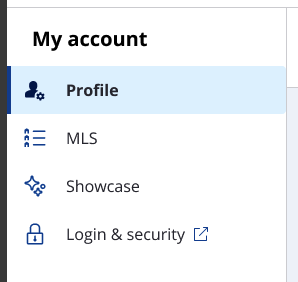
Then, navigate to the Showcase tab under “My account.” This is where you’ll confirm your usage of Showcase on your profile, and this tab will also include additional details about your Showcase account.
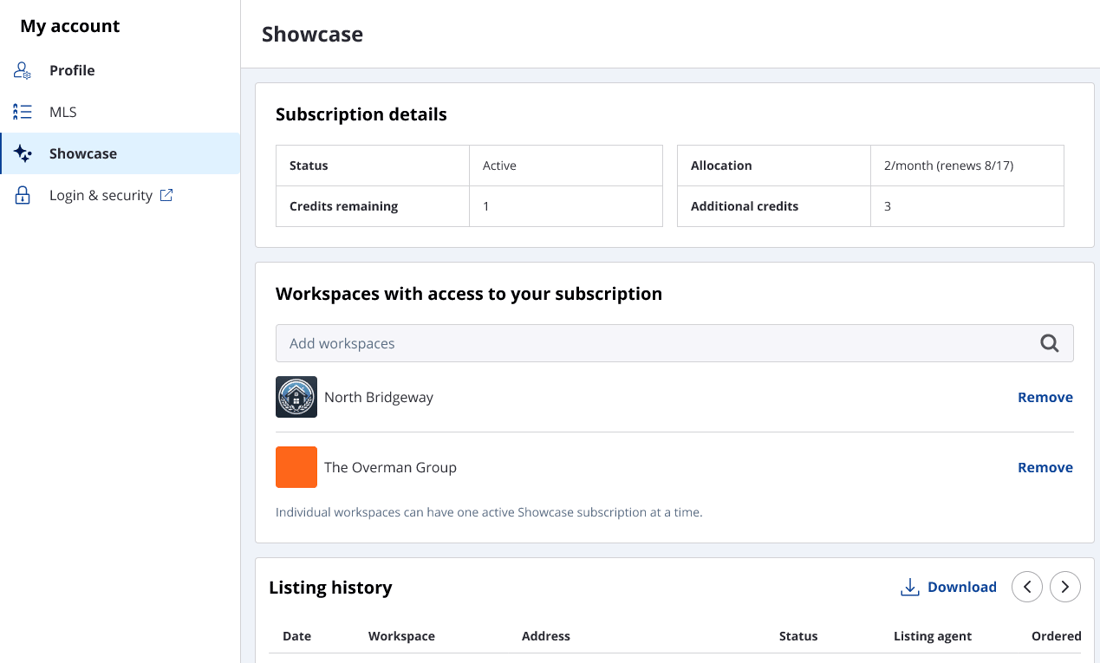
To add Showcase subscription access to a workspace, just click “Add workspaces” from the Showcase tab. This will enable your workspace to have access to your Showcase credits to create listings. Without doing this step you’ll be unable to create Showcase listings from that workspace.

If you’ve already been using Showcase, your Showcase subscription may already be enabled and you won’t need to complete this step.
My Account
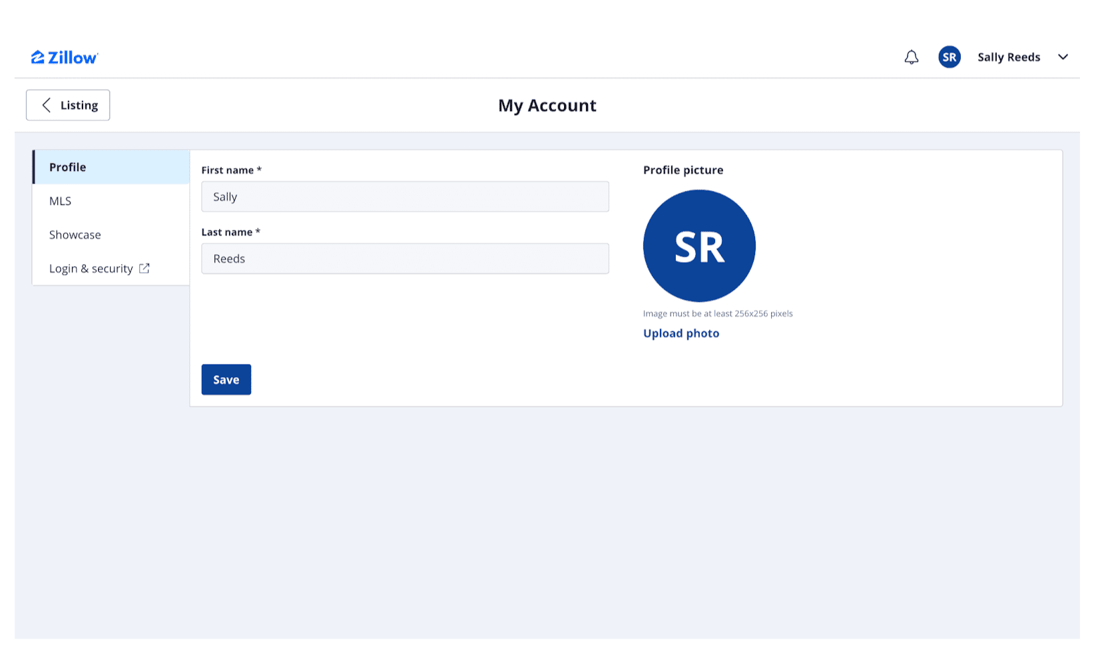
Next, navigate to My Account by clicking the down arrow next to your name in the top right corner.
Updating your Profile
Click on “Profile” on the left side of the screen to edit the general details of your account, including your name and photo.
Once you’ve completed your updates, click “Save” on the lower left.
Connecting an MLS
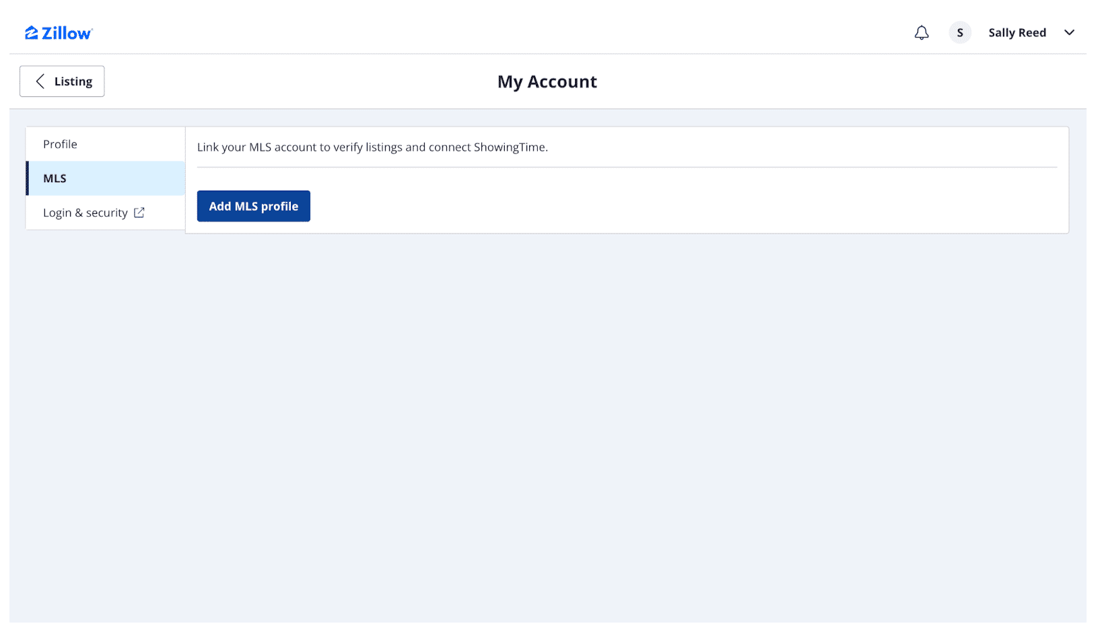
To connect your profile to an MLS, click “MLS” on the left side of the screen. Then click “Add MLS profile” to begin connecting to your MLS.
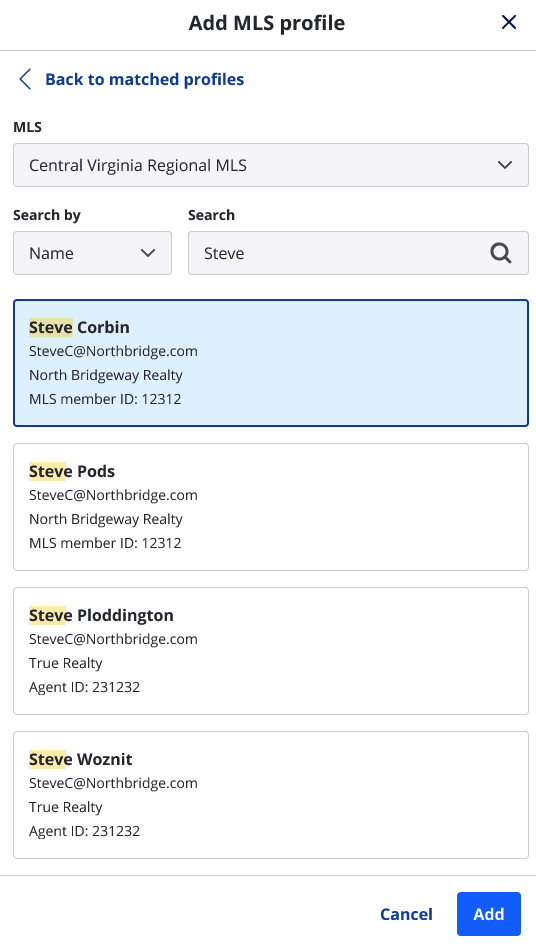
The system will then automatically search for the email address you use with Showcase within existing MLS systems to seek matches. Review the suggested matched profiles and confirm which you would like to add, then click “Add.”
You will need to verify your email address in order to confirm the connection to your MLS from your Showcase profile. Click “Verify email” and follow the instructions you receive in your inbox.
Showcase Details
To review your overall Showcase subscription details, click “Showcase” on the left side of the screen. This includes your account status, workspace access, and listing history.
Login & Security
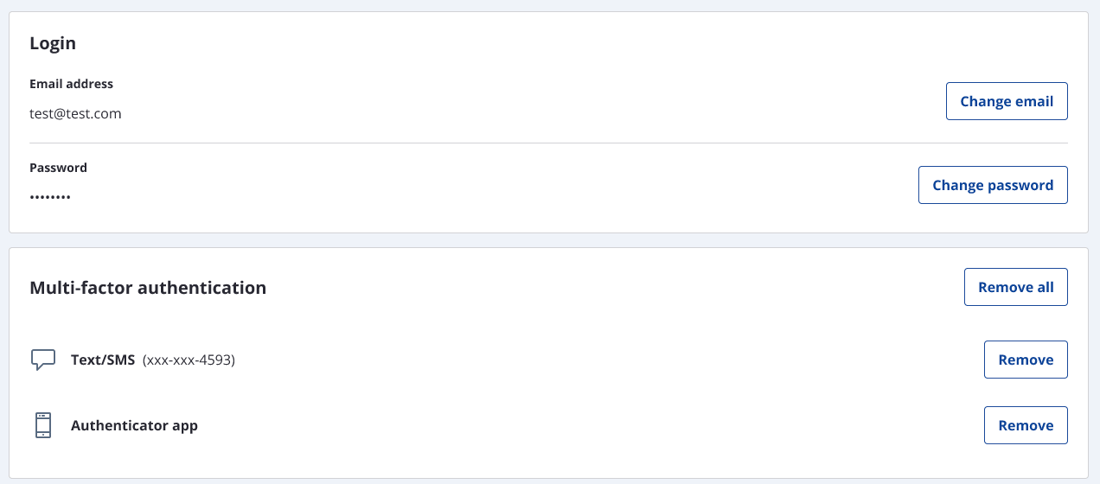
The Login & Security tab on the left side of your screen is where you have access to review and update your email and password, as well as multi-factor authentication.
Add Branding, Social Media and Zillow Profile
To update your profile that will appear on your Showcase listings, return to your Showcase home page and click “Settings” on the lower left and then select “User settings.”
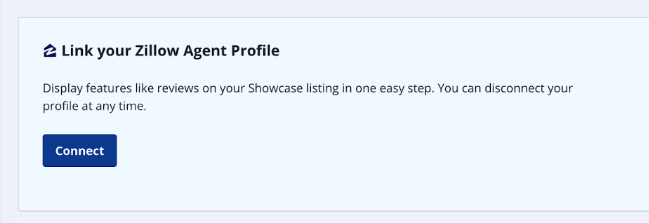
First, click “Connect” to add your Zillow Agent Profile so your reviews and any badges you’ve earned are visible on your Showcase listings. Next, easily update your additional profile information, including your name, bio, contact details, and more.
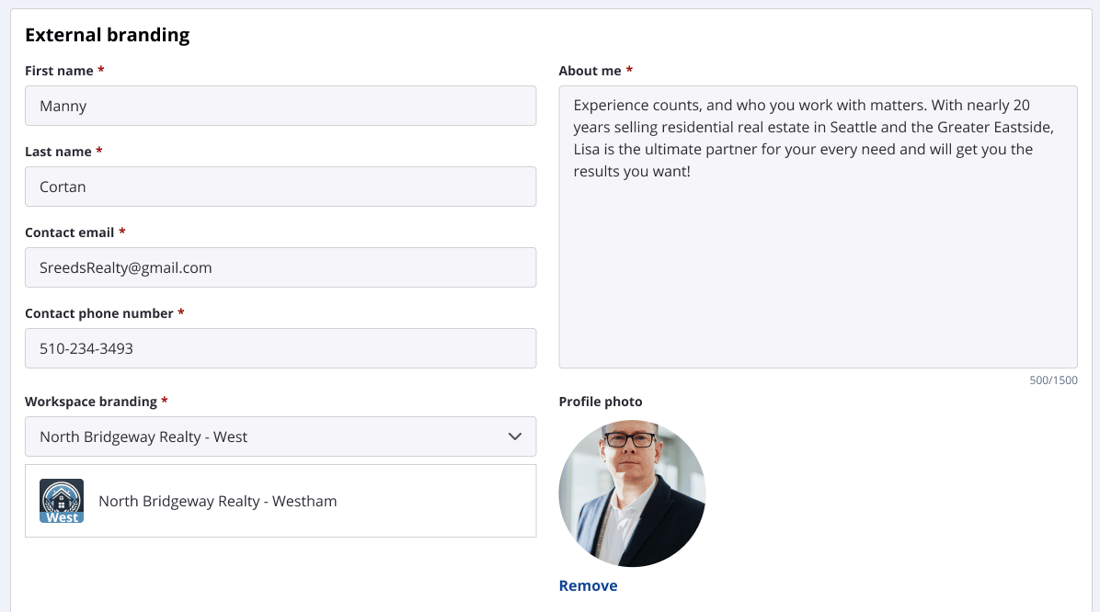
You will also use this space to update your personal external branding, including a photo, “About me” section that will be visible on all your Showcase listings and contact information. You’ll also identify your workspace branding, if you’re part of multiple workspaces.
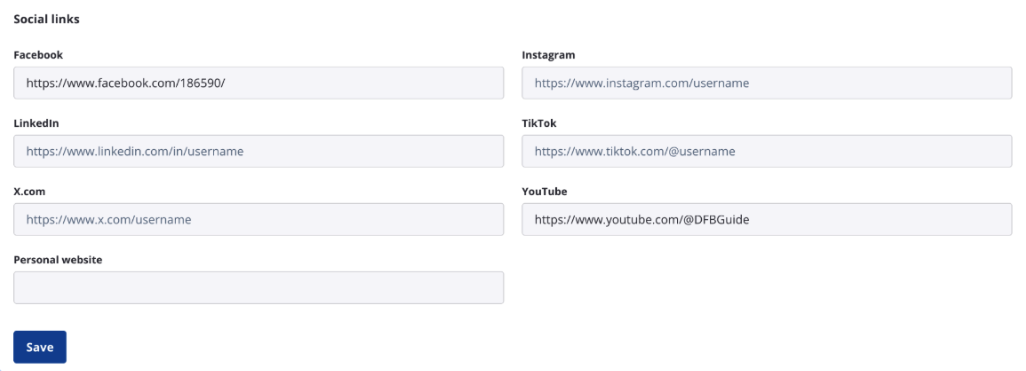
There are also fields available to connect your social media profiles and a personal website to ensure visitors are able to get fast access to your business.
Administrative Settings
If you’re an administrator for a workspace, you have access to additional settings. If you have access to more than one workspace, ensure you’re viewing the correct workspace by clicking the workspace icon or initials on the upper left.

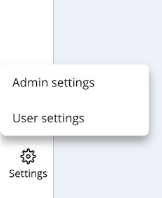
Once you’re in the desired workspace, click “Settings” on the bottom left, and then click “Admin settings.”
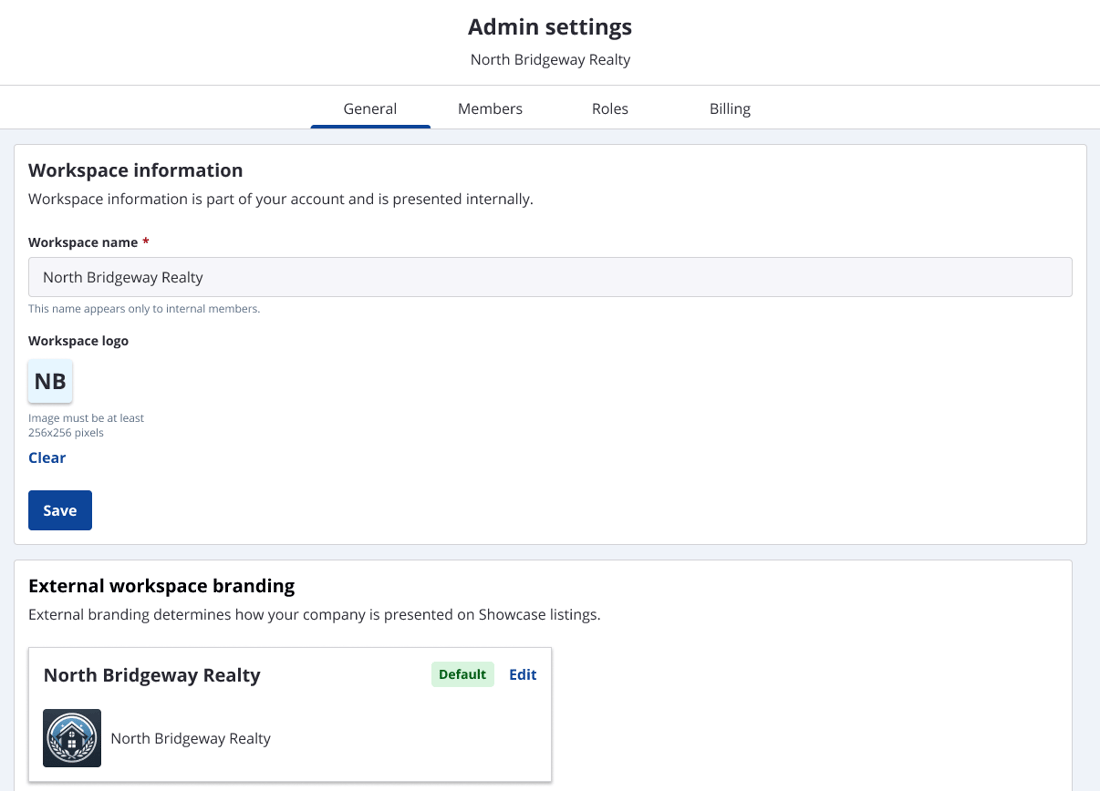
This is where you will manage branding, members and roles. Once a Showcase subscription has been added to the workspace, you’ll also see “Billing” here as well.
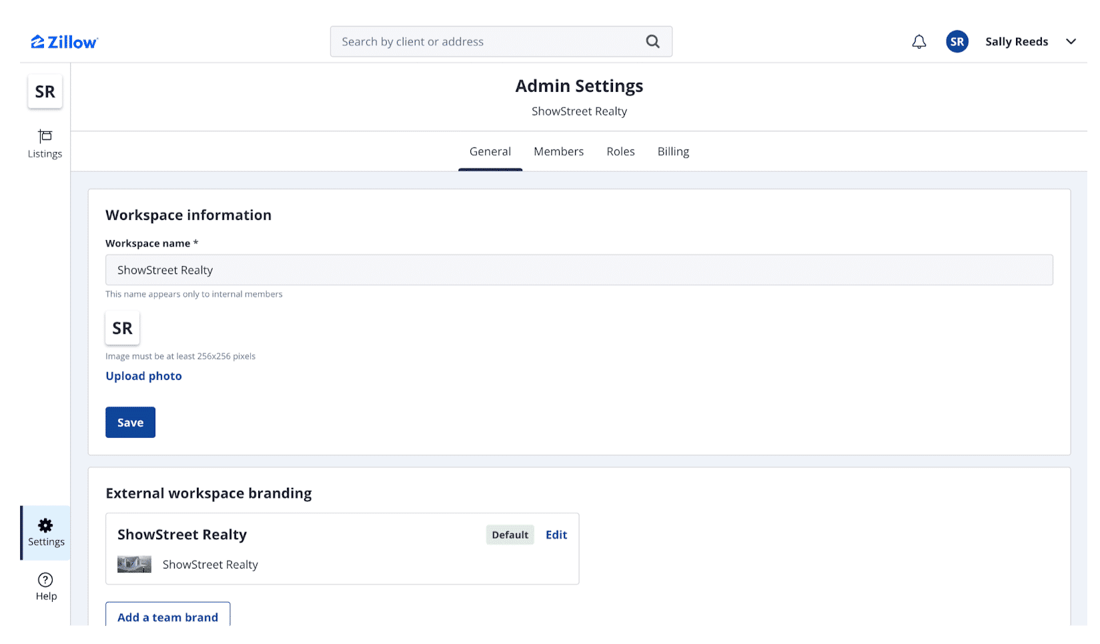
You can also access your Admin settings by clicking the “Settings” button on the lower left.
Once in admin settings, you can update the workspace name, photo, and branding in the “General” tab.
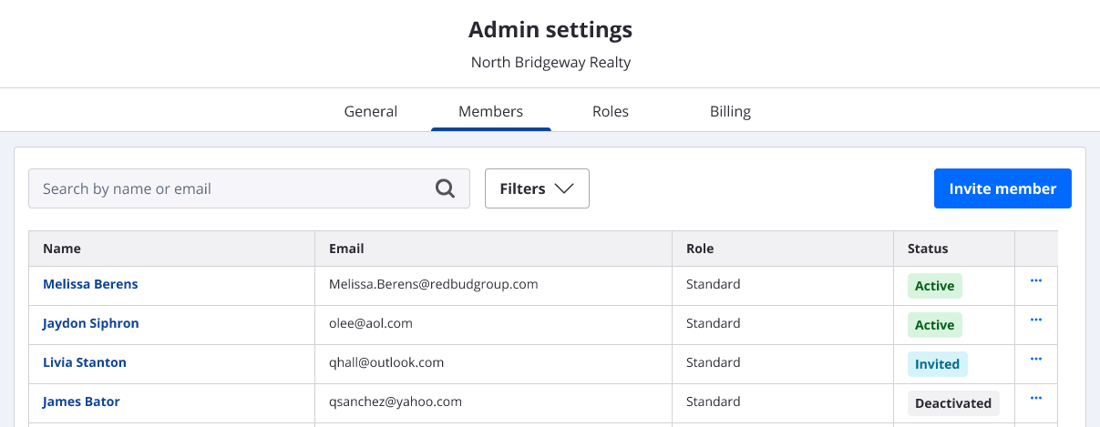
Click on “Members” to view and modify your team members. To add a new team member, click “Invite member” and add their name and email address to trigger an invitation.
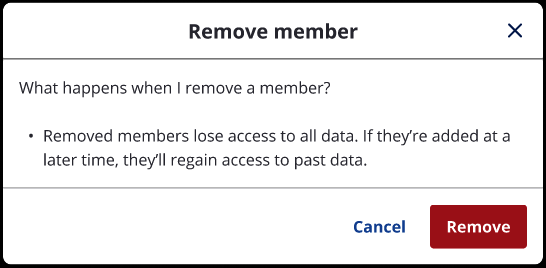
To remove or deactivate members, click the three dot icon on the right of their name and status.
When you remove a member, they will immediately lose all access to your workspace and all connected data.
If you deactivate a member, they will continue to have access to the workspace and data, but cannot create or modify any listings.
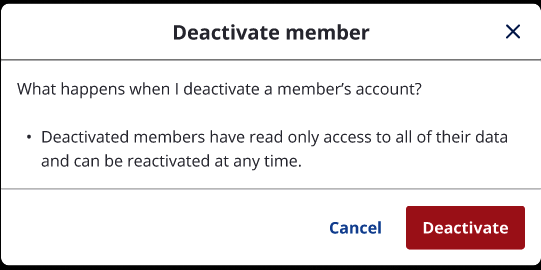
To access a team member’s profile, click their name on the left.
Within their profile you’re able to view and modify their role, contact information, bio and more.
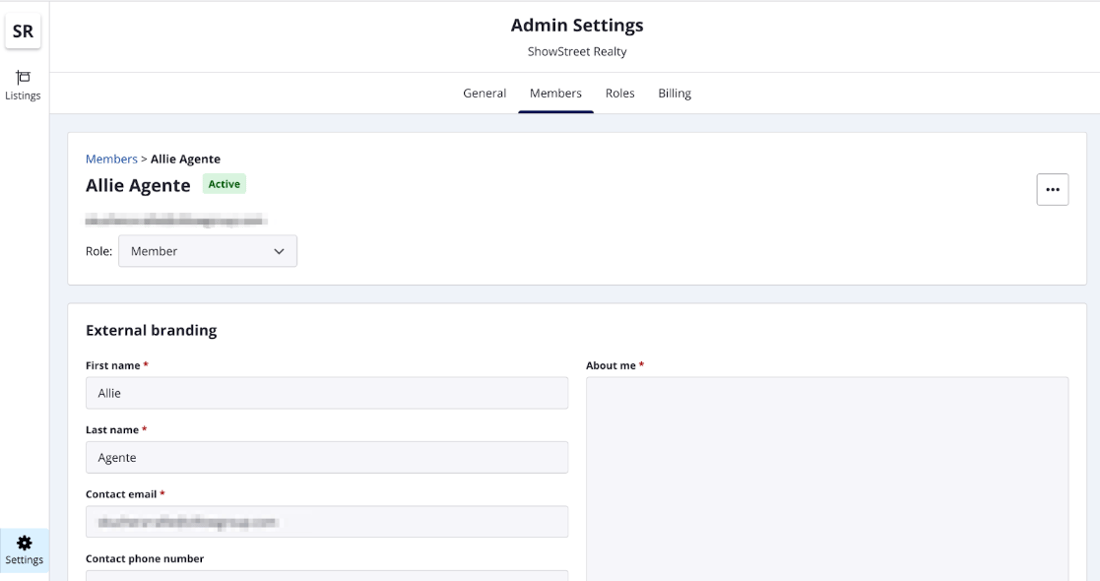
You can also modify their profile photo and social media links if needed.
To view and modify your settings for roles within your workspace, click the “Roles” button within settings. Then, click on the role you’re reviewing for more details.

From within each role you can modify permission levels for access and listing visibility. Every person granted that particular role will have the same level of access.
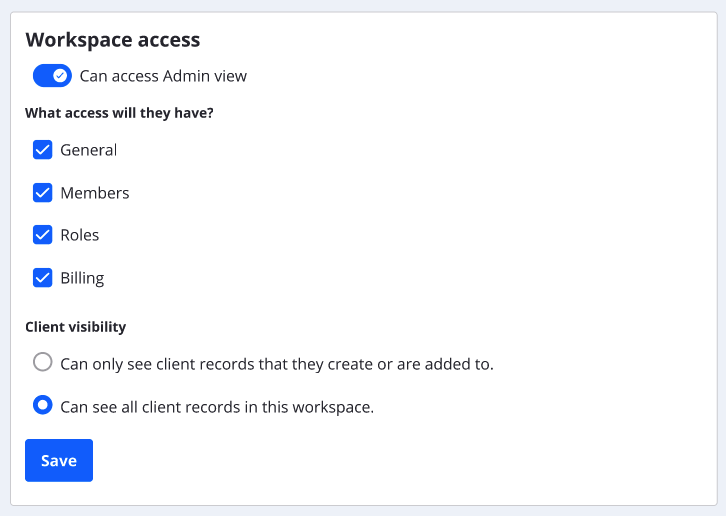
Once you’ve made your selections for the role, click “Save” on the lower left.
To view your workspace’s Showcase subscription and payment details, click “Billing.”
You may also need to add your workspace to your Showcase subscription. To do this, take the following steps:
- Navigate to “My Account.”
- Click the “Showcase” tab.
- Search for workspaces, and grant them access to your Showcase subscription.
- You can also remove access from a workspace, view subscription details, and see the order history.
Creating a New Workspace
If you need a new workspace created, connect with your Customer Success Manager or our support team. They would be happy to help! Call 888-367-4009 or email support@showingtimeplus.com. Their hours are Monday – Friday, 8am – 9pm EST and Saturday – Sunday, 9am – 6pm EST.
After they create a new workspace for you, you can update the workspace branding, and manage members and their roles by clicking “Settings” in the lower left. Once a Showcase subscription has been added to the workspace, you’ll also see a “Billing” tab.